
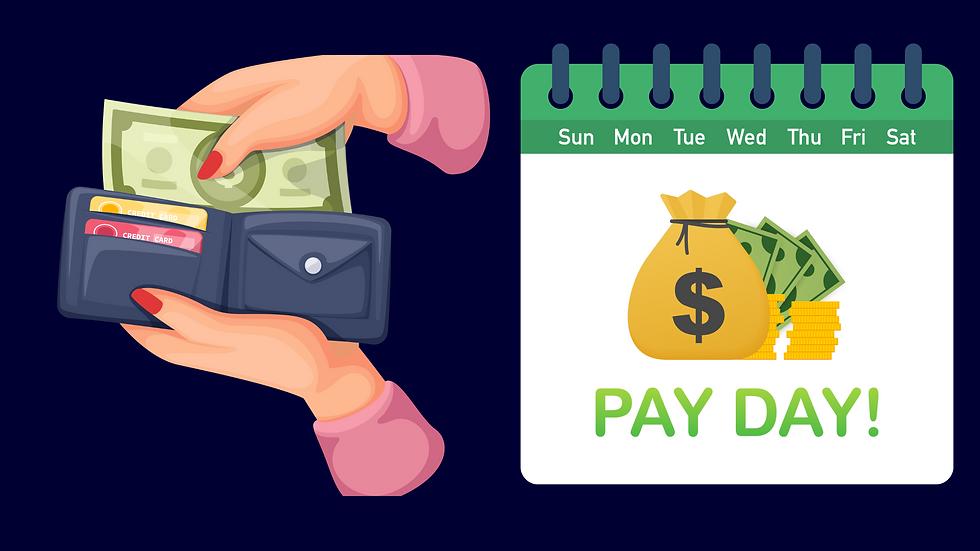
Pay Day!
- Melanie Queen

- Feb 26, 2024
- 6 min read
I often get asked about billing clients and getting paid. In my option, it is best to have your clients pay in advance for the services.
What are the best options for payment?
The ways to bill before you provide services or give the product:
Invoice them ahead of time and do not start working until it is paid. This does not require payment information to be assessable at the time of the purchase or transaction.
Sales receipts are a popular option. This requires you to have the payment information at the time of the purchase or transaction.
Estimates are good to use for services or products that are custom and you are unsure how long it will take or cost you to create. It is best that you have the client at least pay a substantial deposit before starting work. Depending on the project you may need to require payments as progress is being made. This often happens for large landscaping projects and construction.
Why is it best to require payment beforehand?
It can be a challenge to get paid after the fact. Nobody loves to have to bug a client to get paid for services or goods that have already been rendered. These days it is very common to require payment before services are rendered. The days of Net 30 (due in 30 days) is becoming more and more uncommon. Yes, you can offer accounts receivable but most small businesses these days need the cash flow and do not have the means to be able to float without payment. It is also helpful to get paid ahead of time when you are having to pay for products or supplies for the finished goods. It can be very difficult to pay for those supplies if not paid in advance. If you do custom work, I highly suggest you at least charge a deposit because the work will be hard to sell to someone else if the client decides to change their mind. Lastly, if you do decide to provide a good or service before payment is received and then the client decides to play hard to get it, you will be spending more time and potentially money (for lawyers, or other legal support) to get paid. This is not fun and should be avoided.
How do you create an Invoice in QuickBooks Online?
Follow the steps below on how to create an invoice in QuickBooks Online:
QuickBooks Online has been making quite a few changes over the last year or so. These are the basic steps to follow, however keep in mind, your file may look a little different since QuickBooks Online is allowing us to customize our view.
1. Log into your QuickBooks Online.
2. On the left menu, click Sales.
3. Then a new menu will appear and click Customers.
4. Find or search for a customer whom you would like to create an invoice for.
5. Click on the Customer’s name.
6. On the top right, where it says New Transaction, click on the down arrow.
7. Then click Invoice from the list that appears.
8. Make sure all the customer’s information is correct.
9. Choose the payment methods you are going to allow the invoice to be paid. Keep in mind the payment processing fees.
10. Choose the product or service that you are entering the invoice for.
11. Enter a description.
12. Enter the Quantity.
13. Enter the Rate.
14. The amount will automatically calculate based on the quantity and the rate that you entered in steps 12 and 13.
15. If you have sales tax in your location, enter the sales tax information below the products or services on the right side near the total line at the bottom.
16. Repeat steps 10-13 to add additional products or services to the invoice. Note: if you need additional lines you can choose to add lines on the left to add additional lines to enter more products or services.
17. The invoice will automatically calculate for you the subtotal and total.
18. Enter a nice custom message in the Message displayed on the invoice.
19. Enter a message to appear on a statement.
20. If you have pictures of the product or other attachments that need to be added to the invoice you can add them by choosing to drag and drop or clicking on the box at the bottom left corner of the invoice.
21. Once you are ready to send it click send and save at the bottom right.
22. A popup of the email to be sent to your customer will appear. Make sure everything is correct and enter a nice email to your customer. This is the first thing they will see when they receive the invoice.
23. Click send and close. This will send your invoice to your customer.
24.Once the invoice has been paid, check on deposits coming in by clicking on deposits on the left menu. You should see the sales receipt you just created on top.
How do you create a sales receipt in QuickBooks Online?
Follow the steps below on how to create a sales receipt in QuickBooks Online:
1. Make sure your QuickBooks Online is in Business View. Go to the gear icon and at the bottom of the popup choose Business View if you in Accountant View.
2. On the left menu, click Sales.
3. Then a new menu will appear and click Customers.
4. Find or search for a customer whom you would like to create a sales receipt for.
5. Click on the Customer’s name.
6. On the top right, where it says New Transaction, click on the down arrow.
7. Then click Sales Receipt from the list that appears.
8. Make sure all the customer’s information is correct.
9. Choose the payment method.
10. Enter payment information in the box that will appear. IMPORTANT: Make sure you check the boxes that say you are authorized to make this payment.
11. Choose what account it should be deposited to in the Deposit to the box. Usually, it is your business’s main checking account. IMPORTANT: Do not choose Undeposited Funds. This will cause duplicates in your sales. Trust me, it is really hard to fix and is very annoying when your income is overstated.
12. Choose the product or service that you are entering the sales receipt for.
13. Enter a description.
14. Enter the Quantity.
15. Enter the Rate.
16. The amount will automatically calculate based on the quantity and the rate that you entered in steps 14 and 15.
17. If you have sales tax in your location, enter the sales tax information below the products or services on the right side near the total line at the bottom.
18. Repeat steps 12-15 to add additional products or services to the sales receipt. Note: if you need additional lines you can choose to add lines on the left to add additional lines to enter more products or services.
19. The sales receipt will automatically calculate for you the subtotal and total.
20. Enter a nice custom message in the Message displayed on the sales receipt.
21. Enter a message to appear on a statement.
22. If you have pictures of the product or other attachments that need to be added to the sales receipt you can add them by choosing to drag and drop or clicking on the box at the bottom left corner of the sales receipt.
23. Once you are ready to send it click send and save at the bottom right.
24. A popup of the email to be sent to your customer will appear. Make sure everything is correct and enter a nice email to your customer. This is the first thing they will see when they receive the sales receipt.
25. Click send and close. This will send your sales receipt and process the payment.
26. Check on deposits coming in by clicking on deposits on the left menu. You should see the sales receipt you just created on top.
Now that you know how to send an invoice or a sales receipt in QuickBooks Online, here is a free printable to remind you of what we talked about today!
What are my options if I want to have someone help me with my bookkeeping?
I have several options from DIY training, Getting caught up and rolling, and Monthly Bookkeeping Services. I would love to meet with you and discuss your individual needs.


Comments